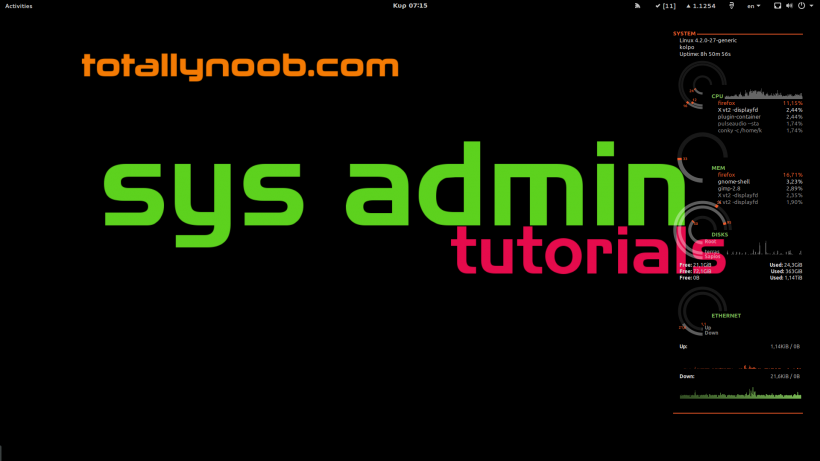
Conky is an exceptional system monitor for X, that displays any kind of information on your desktop. If you haven’t met conky until now, do so here.
In this tutorial you will install the latest conky manager (2.4 at the time of writing) and some other tools, usually being used by conky themes and widgets. Enable a widget or a theme and modify it to your needs.
|
1 2 3 4 |
sudo add-apt-repository ppa:teejee2008/ppa sudo apt-get update sudo apt-get install hddtemp curl lm-sensors conky-all conky-manager sudo sensors-detect |
For seamod you’re going to modify the files mentioned below which live under ~/.conky/Conky Seamod. If you need an example, refer to my conky gists, at the end of this article.
File: seamod_rings.lua:
Notice the arguments at lines 106,127,148 (for Hard Disks), lines 22, 43, 64 (for CPUs) and 169,190 (to define your network interface(s) ) . You can copy and paste multiple times the cpu and hdd code segements while keep in mind to correct elements positioning if needed ( graph_radius, txt_radius, caption )
File: conky_seamod:
Notice arguments at lines 105,106,107 (and change them to the appropriate HDD paths) and lines 113, 115 to set your network interface.
Now open conky manager, choose widget conky_seamod and press the play button.
You can modify the lua script and see real-time the changes you make.


